
Liz
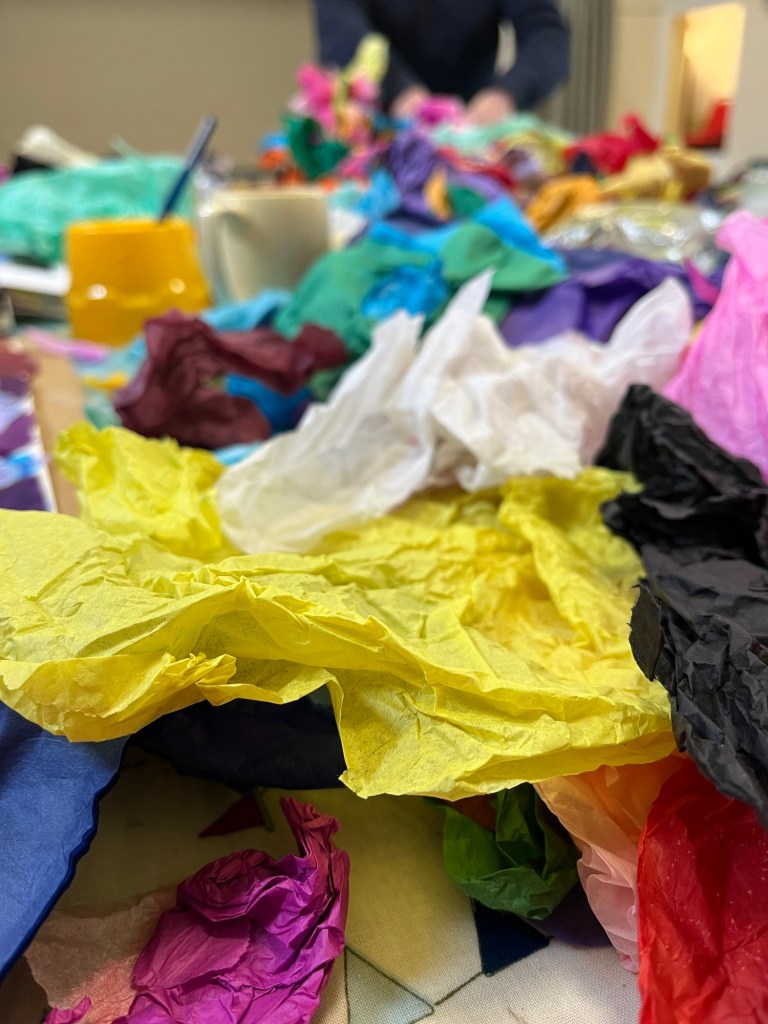
Tip up the tissue paper box….. Who says it’s just for the kids..

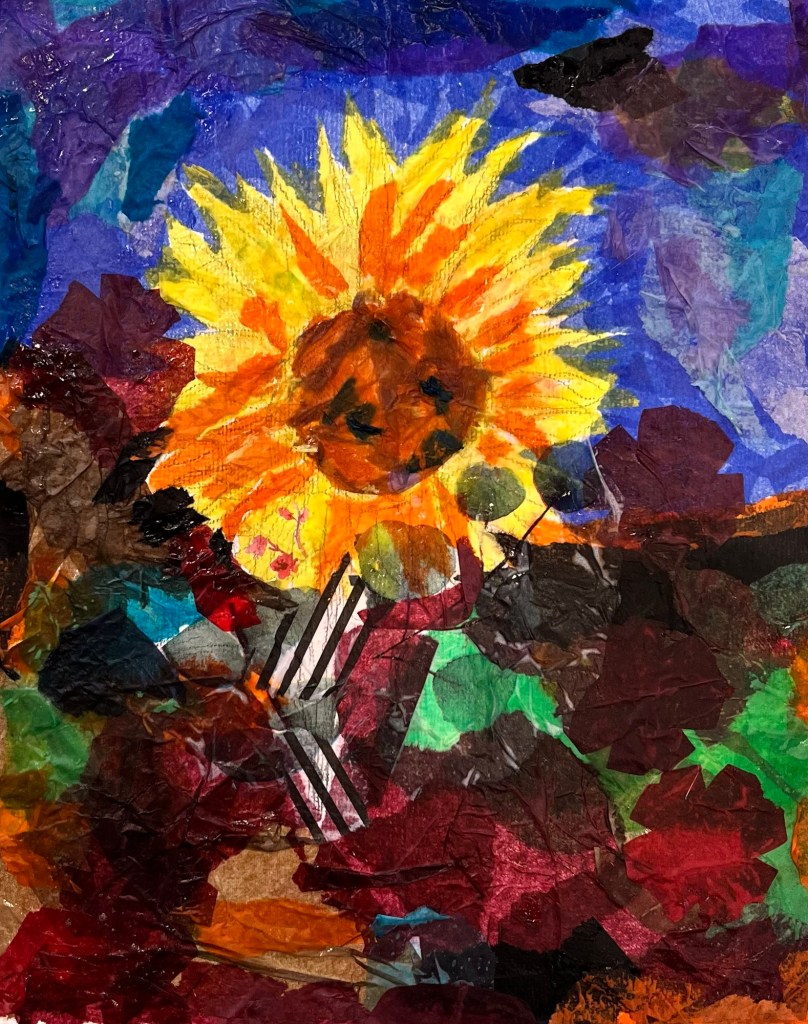
Decoupage is a delightful technique that allows you to transform ordinary objects into personalized works of art. Let’s explore how to decoupage a canvas using tissue paper:
- Materials You’ll Need: TISSUE, DECOUPAGE PAPERS, PVA GLUE AND WATER OR MODPODGE VARNISH GLUE, STURDY SURFACE LIKE BOARD OR CANVAS, BASIC IMAGE TO WORK FROM, FAT BRUSH
- Prepare Your Tissue Paper:
- Iron the tissue paper on low heat to remove any creases or folds, or use the creases as part of your design!
- Smooth out the paper as you work to avoid wrinkles.
- Apply Mod Podge:
- Liberally apply Mod Podge or your mix of pva and water (50%/50%) to the top of your canvas using a chunky brush.
- Ensure an even coat covers the entire surface.
- Layer the Tissue Paper in your desired design, looking at how colours blend and create shadows as they layer.
- Smooth and Stick:
- Smooth out any wrinkles or bubbles.
- Pay attention to the corners and edges.
- Trim excess tissue paper if needed.
- Finishing Touches:
- Once dry, apply a top coat sealer to protect your decoupage.
- If desired, add a pearl coat or gold gilder’s paste for extra sparkle.
Remember, decoupage is all about creativity! Feel free to experiment with different tissue paper patterns and colors. Your canvas will be a unique masterpiece.

Layers of thin fabrics, magazine cuttings, decoupage papers, tissue, newspapers, brown papers, napkins…


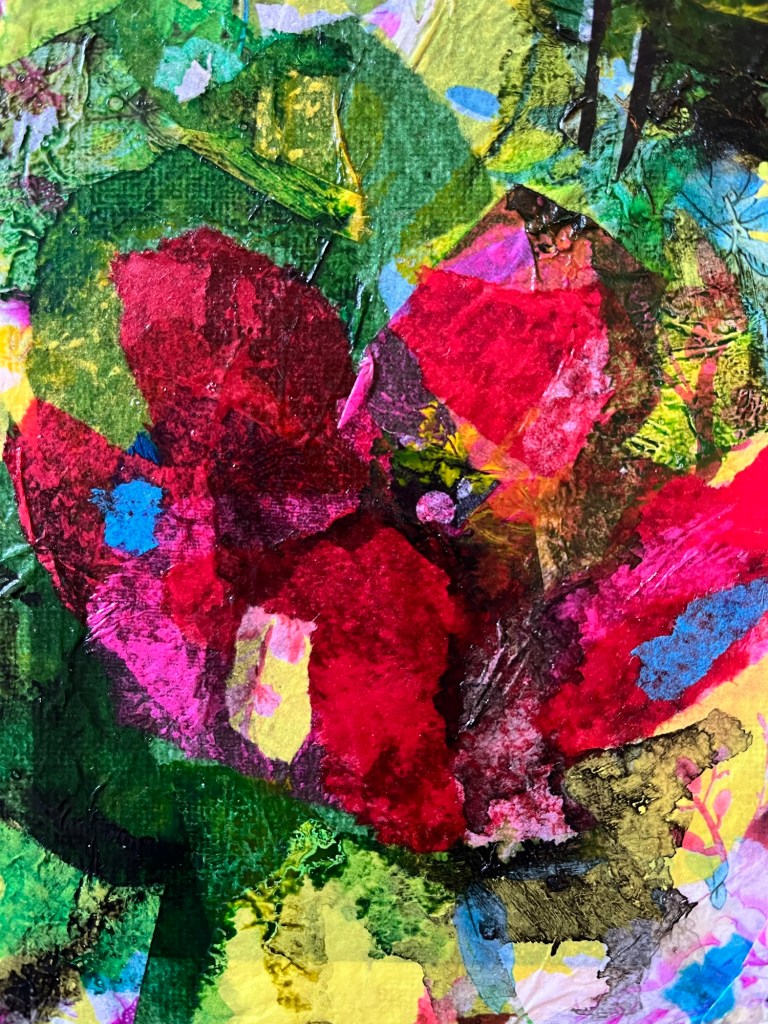
Adding ink to collage layers, before and after
A little ink to add texture, detail and brightness


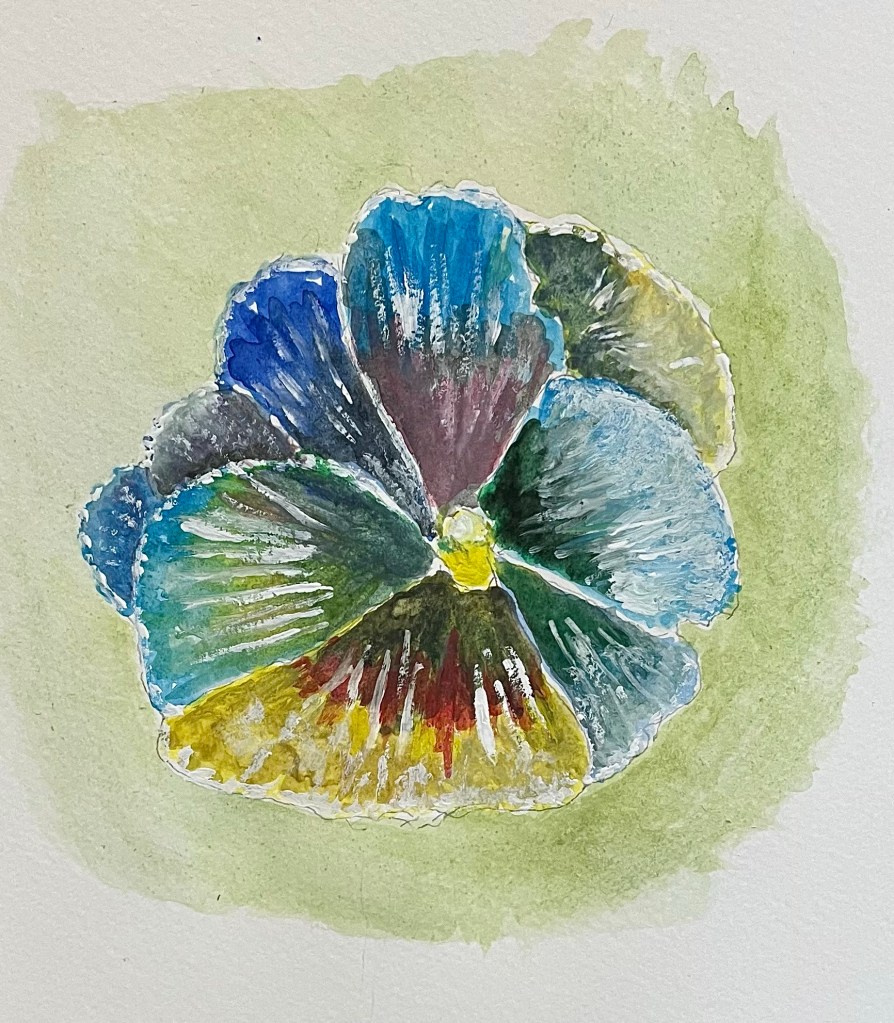
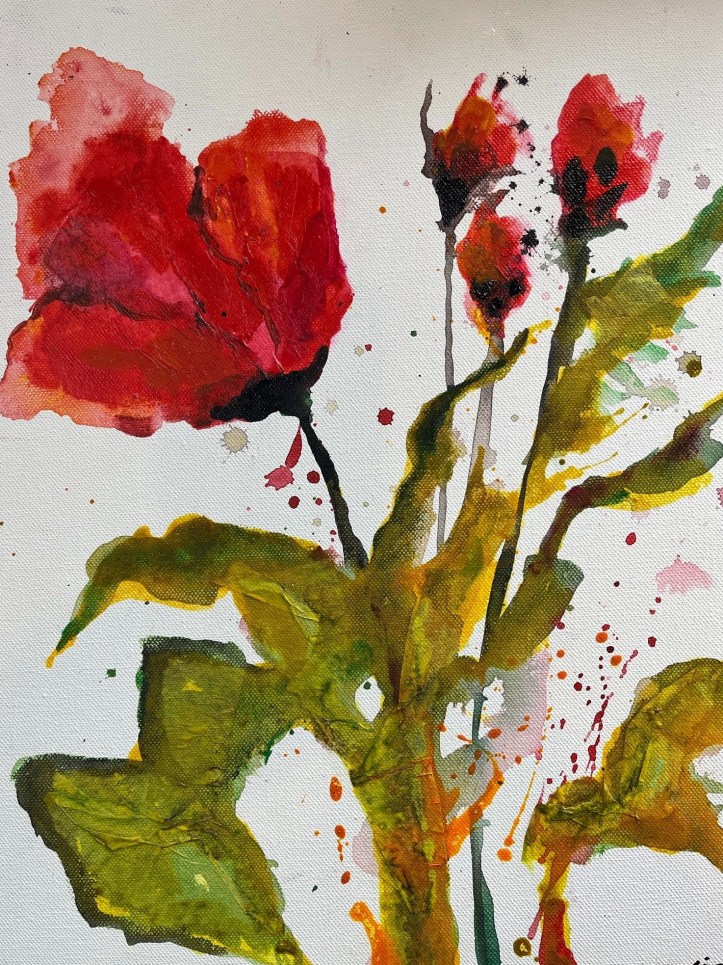
single petal falls
from red rose symbol of love
love shines eternal.


Liz
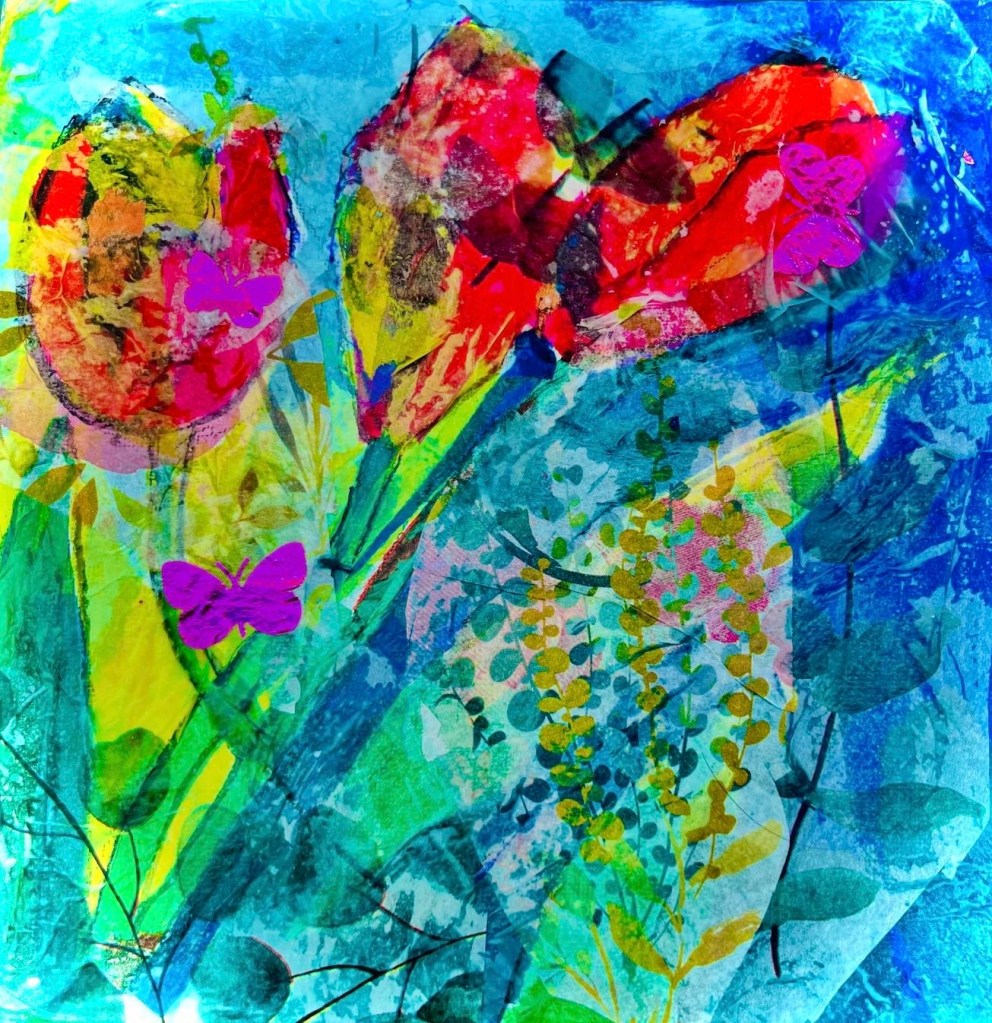
As with many collage techniques, tissue and ink is a lovely, forgiving and free way to be creative; to loosen up the eye and slightly lose a bit of control- let the colours do the talking! A beautiful and vibrant bunch- just like all our Artists from all over the UK!
Happy Easter Everyone !!!

Love and Hugs, Liz xxxxx
